DIY Chambord Chocolate Truffles

Ingredients
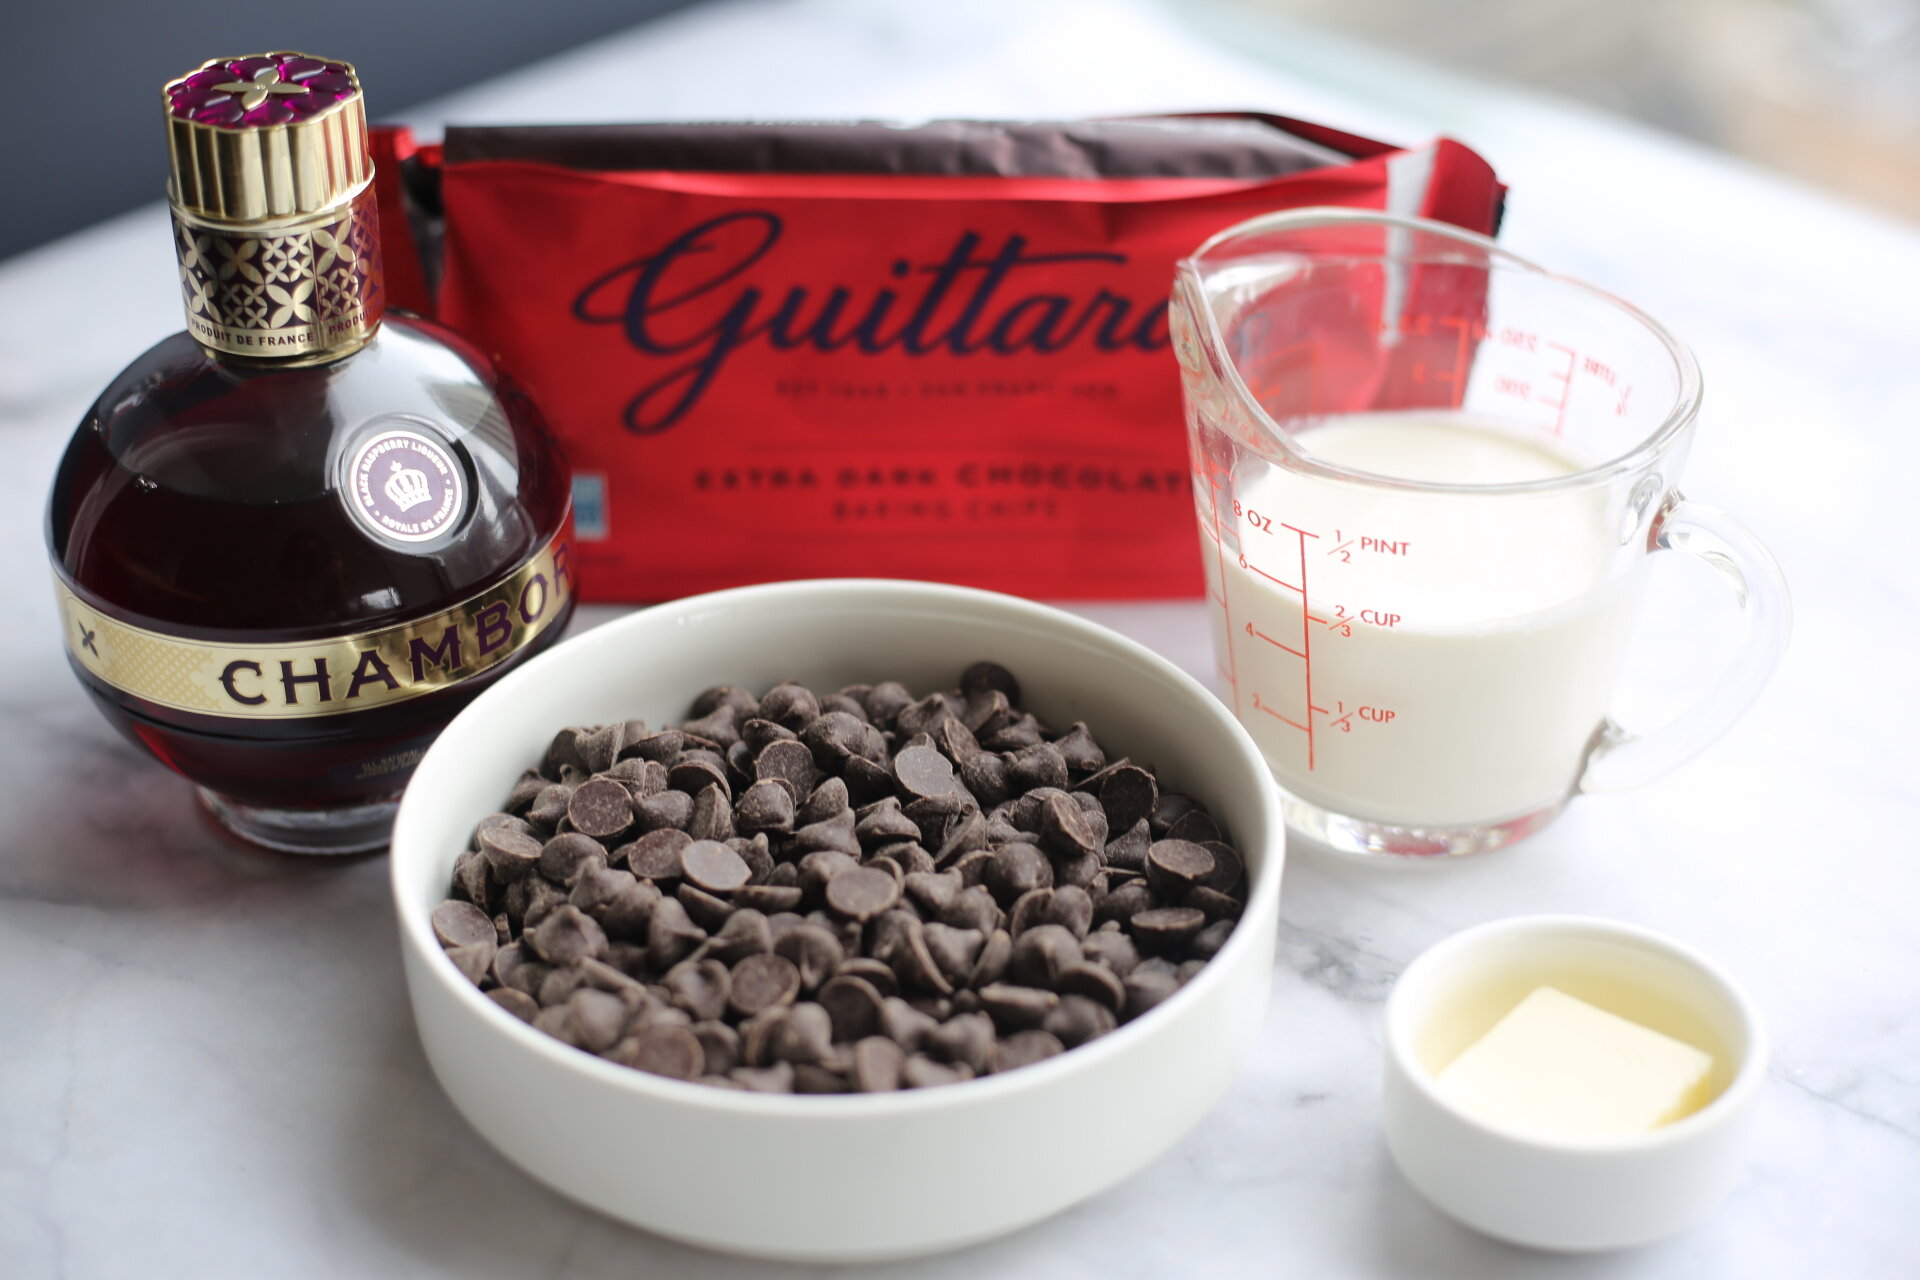
8 ounces quality baking chocolate (226g), finely chopped*
2/3 cup (160ml) heavy cream*
1 Tablespoon unsalted butter, softened to room
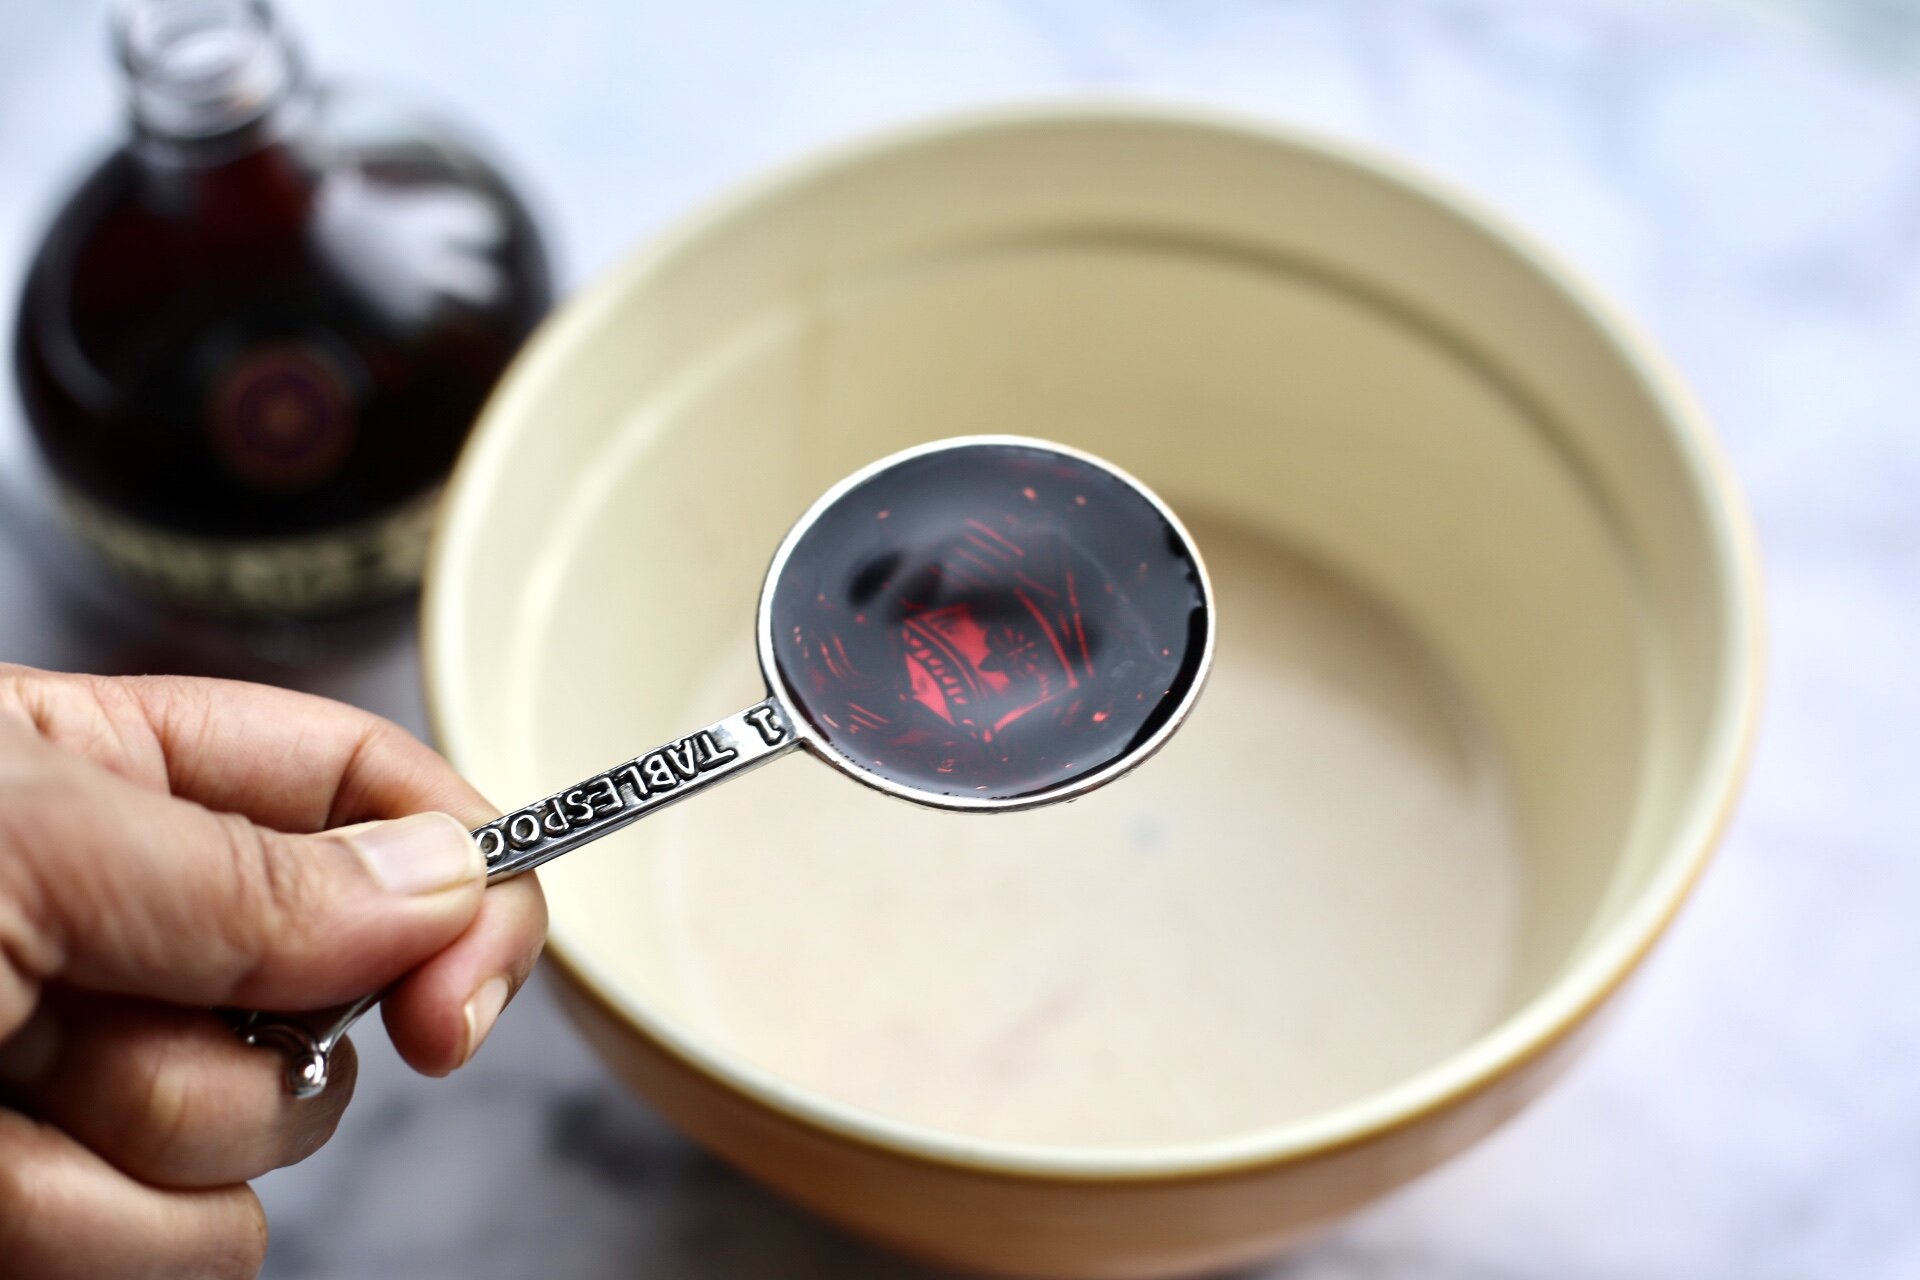
1/4 cup Chambord Liqueur*
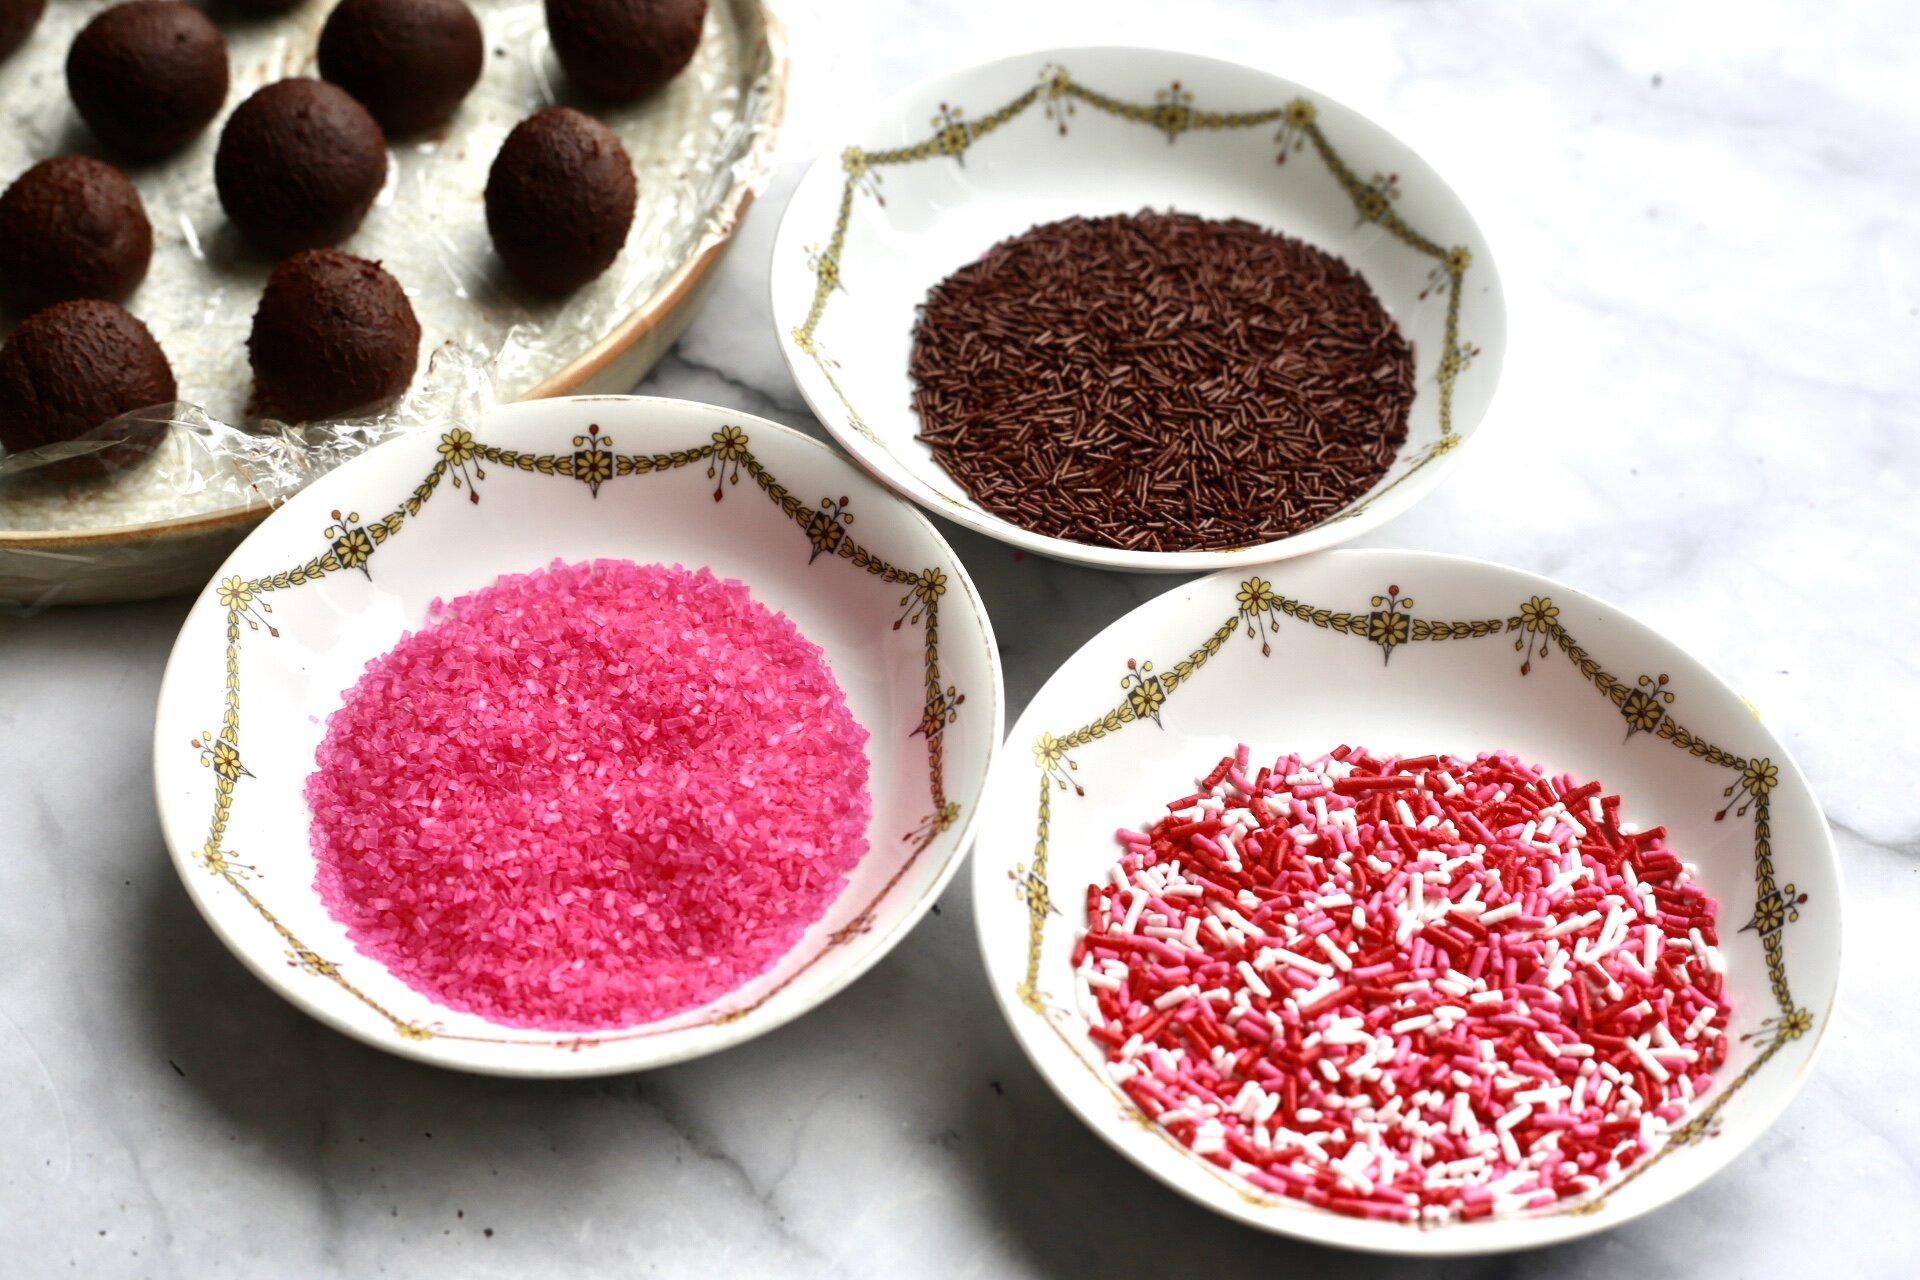
toppings: unsweetened cocoa powder, sprinkles, crushed nuts, melted or tempered chocolate
*see tips for success below
instructions
Place the chocolate in a heat-proof bowl. Set aside.
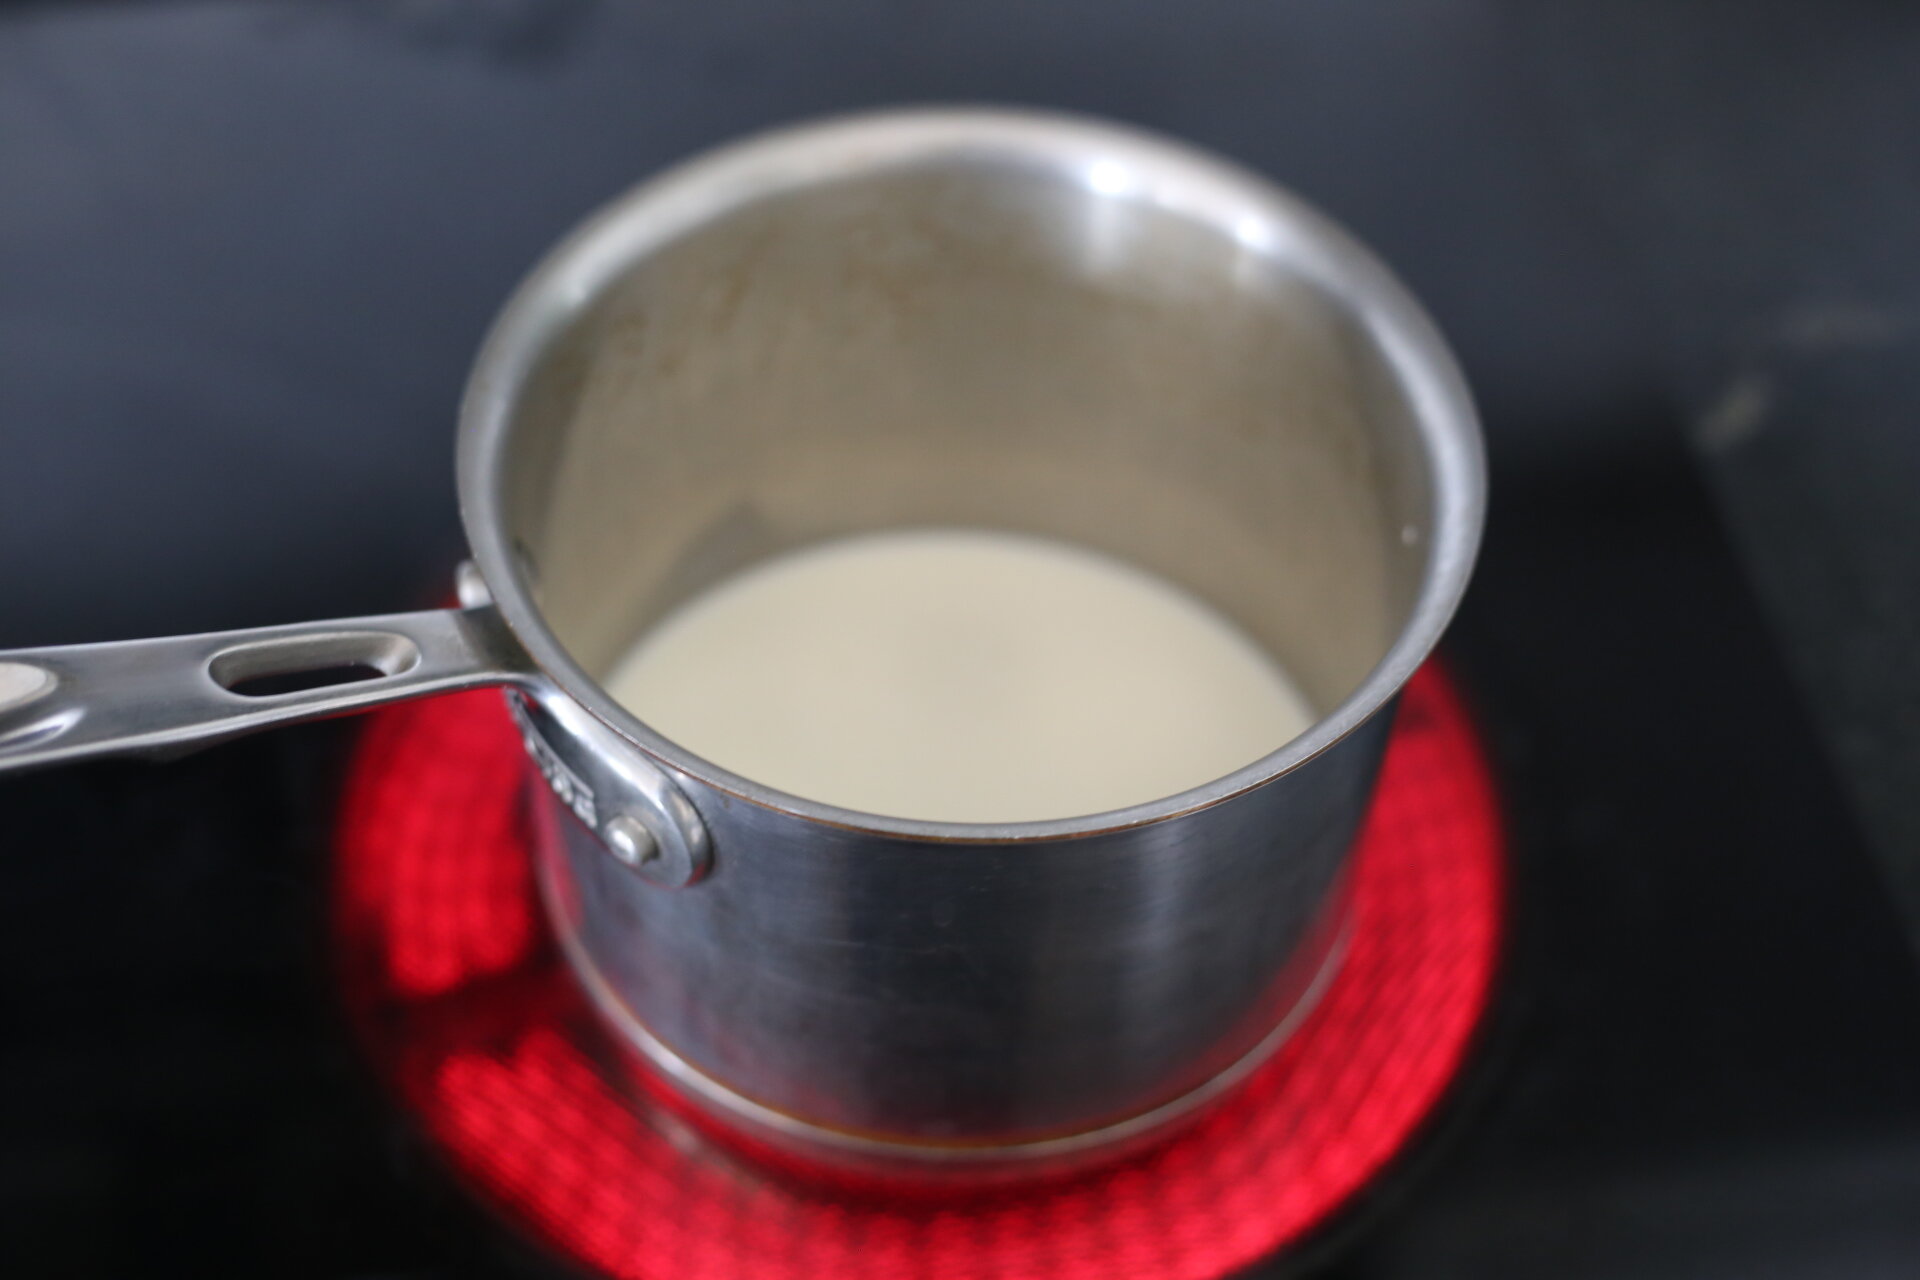
Heat the heavy cream until it is simmering. You can heat it on the stove or in the microwave. Don’t burn the cream or make it too hot. If your cream is too hot, it will separate the chocolate and make it a greasy mess.
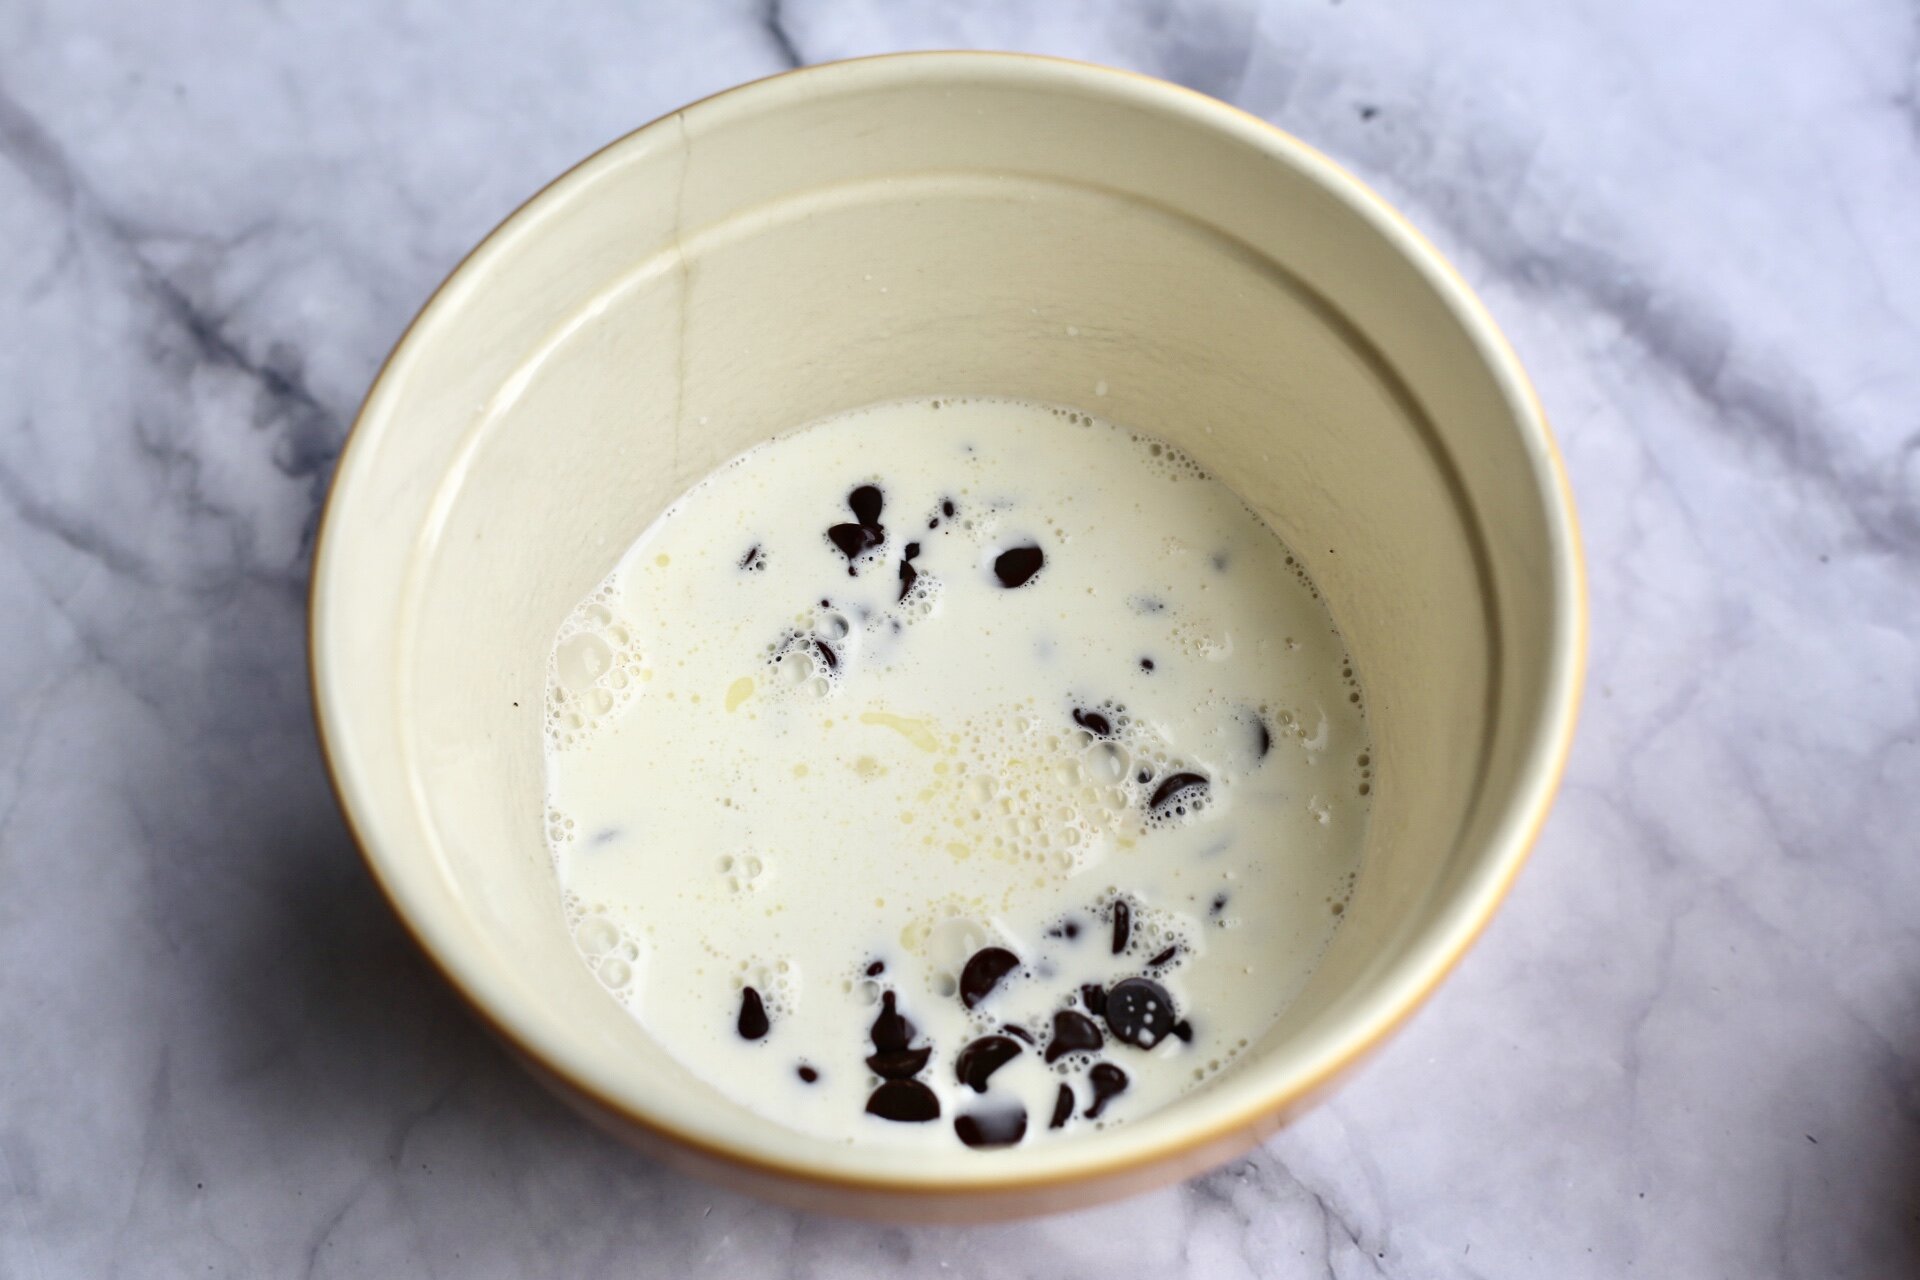
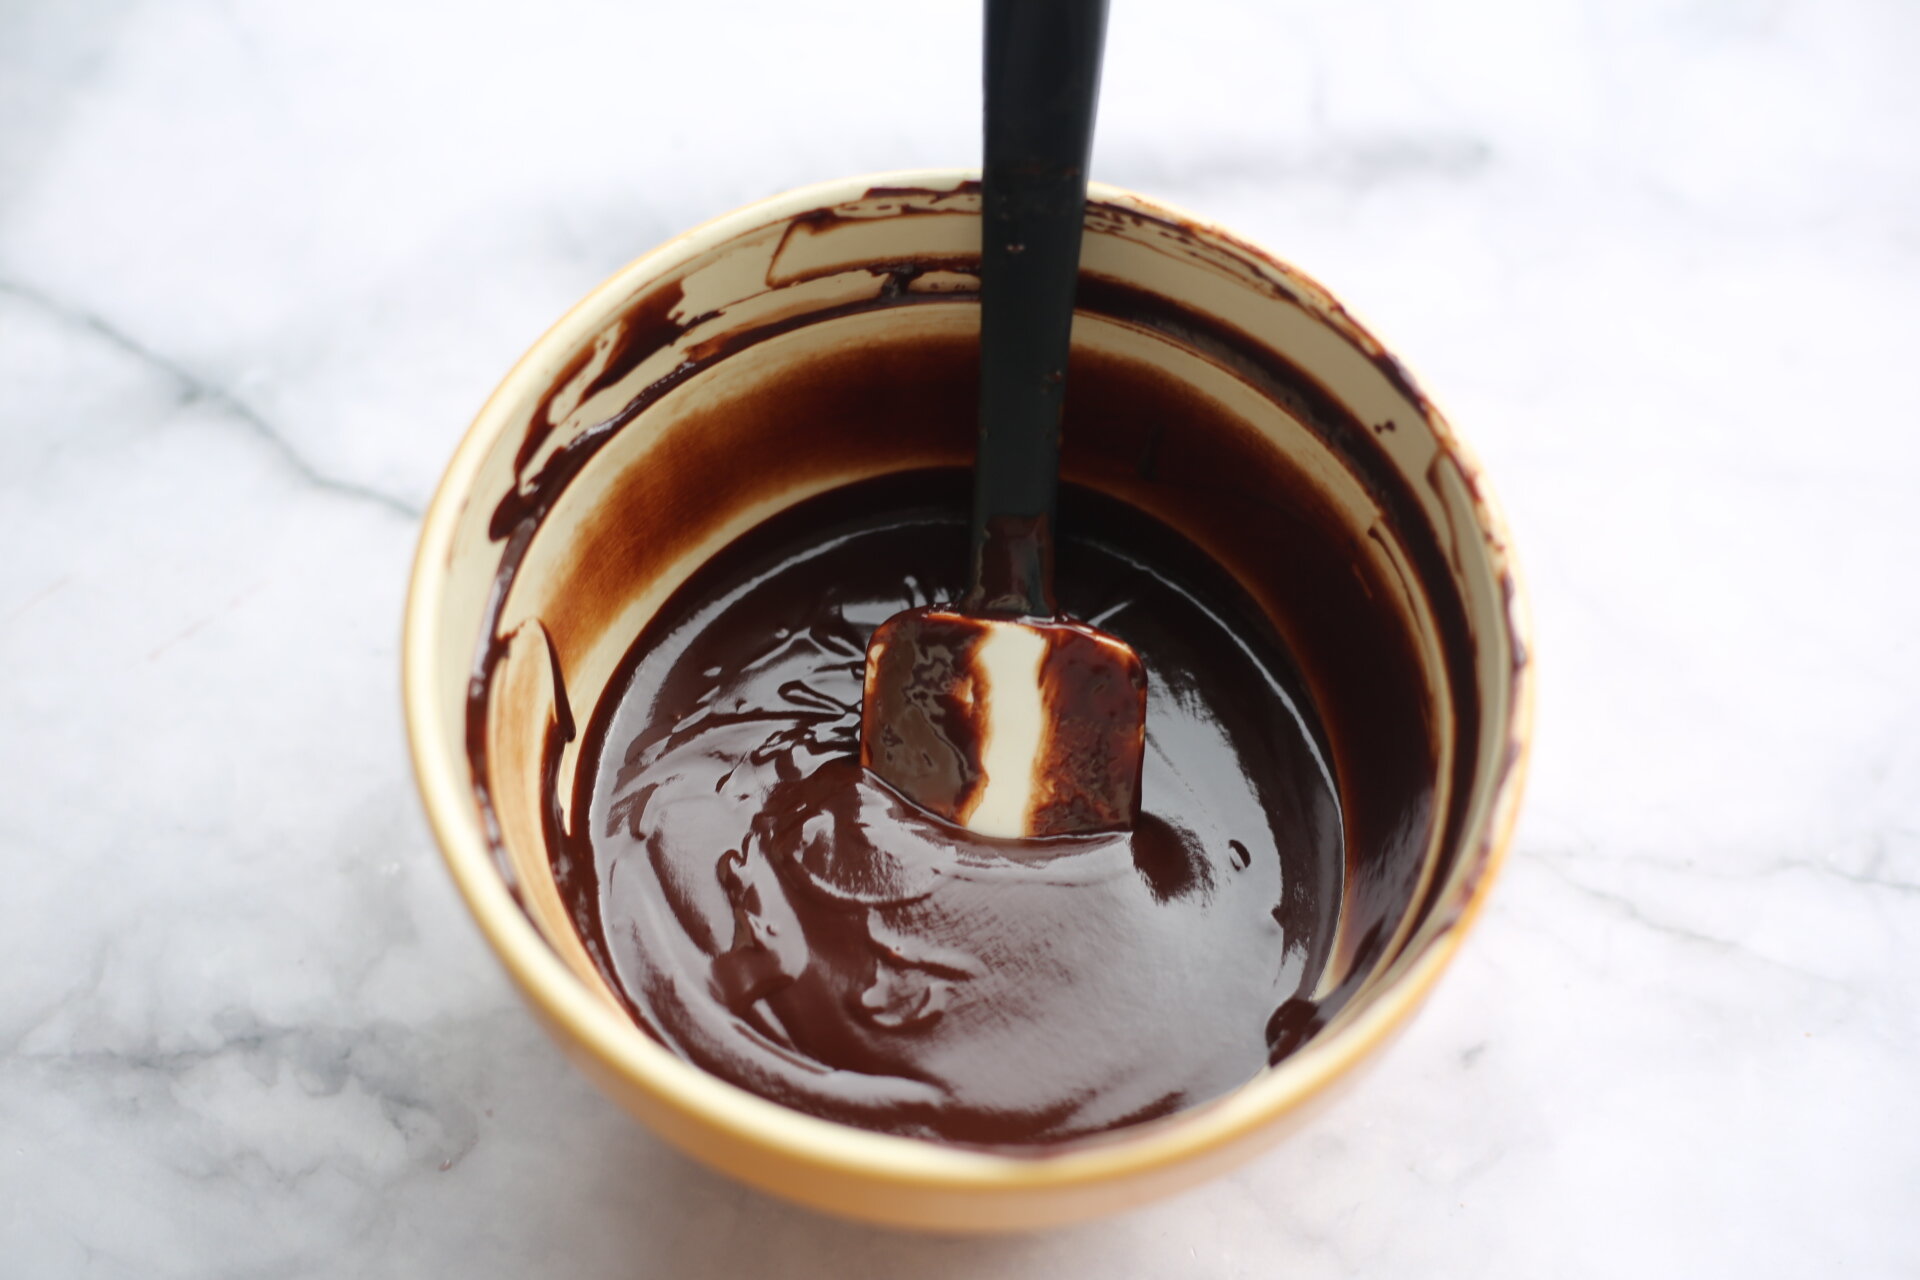
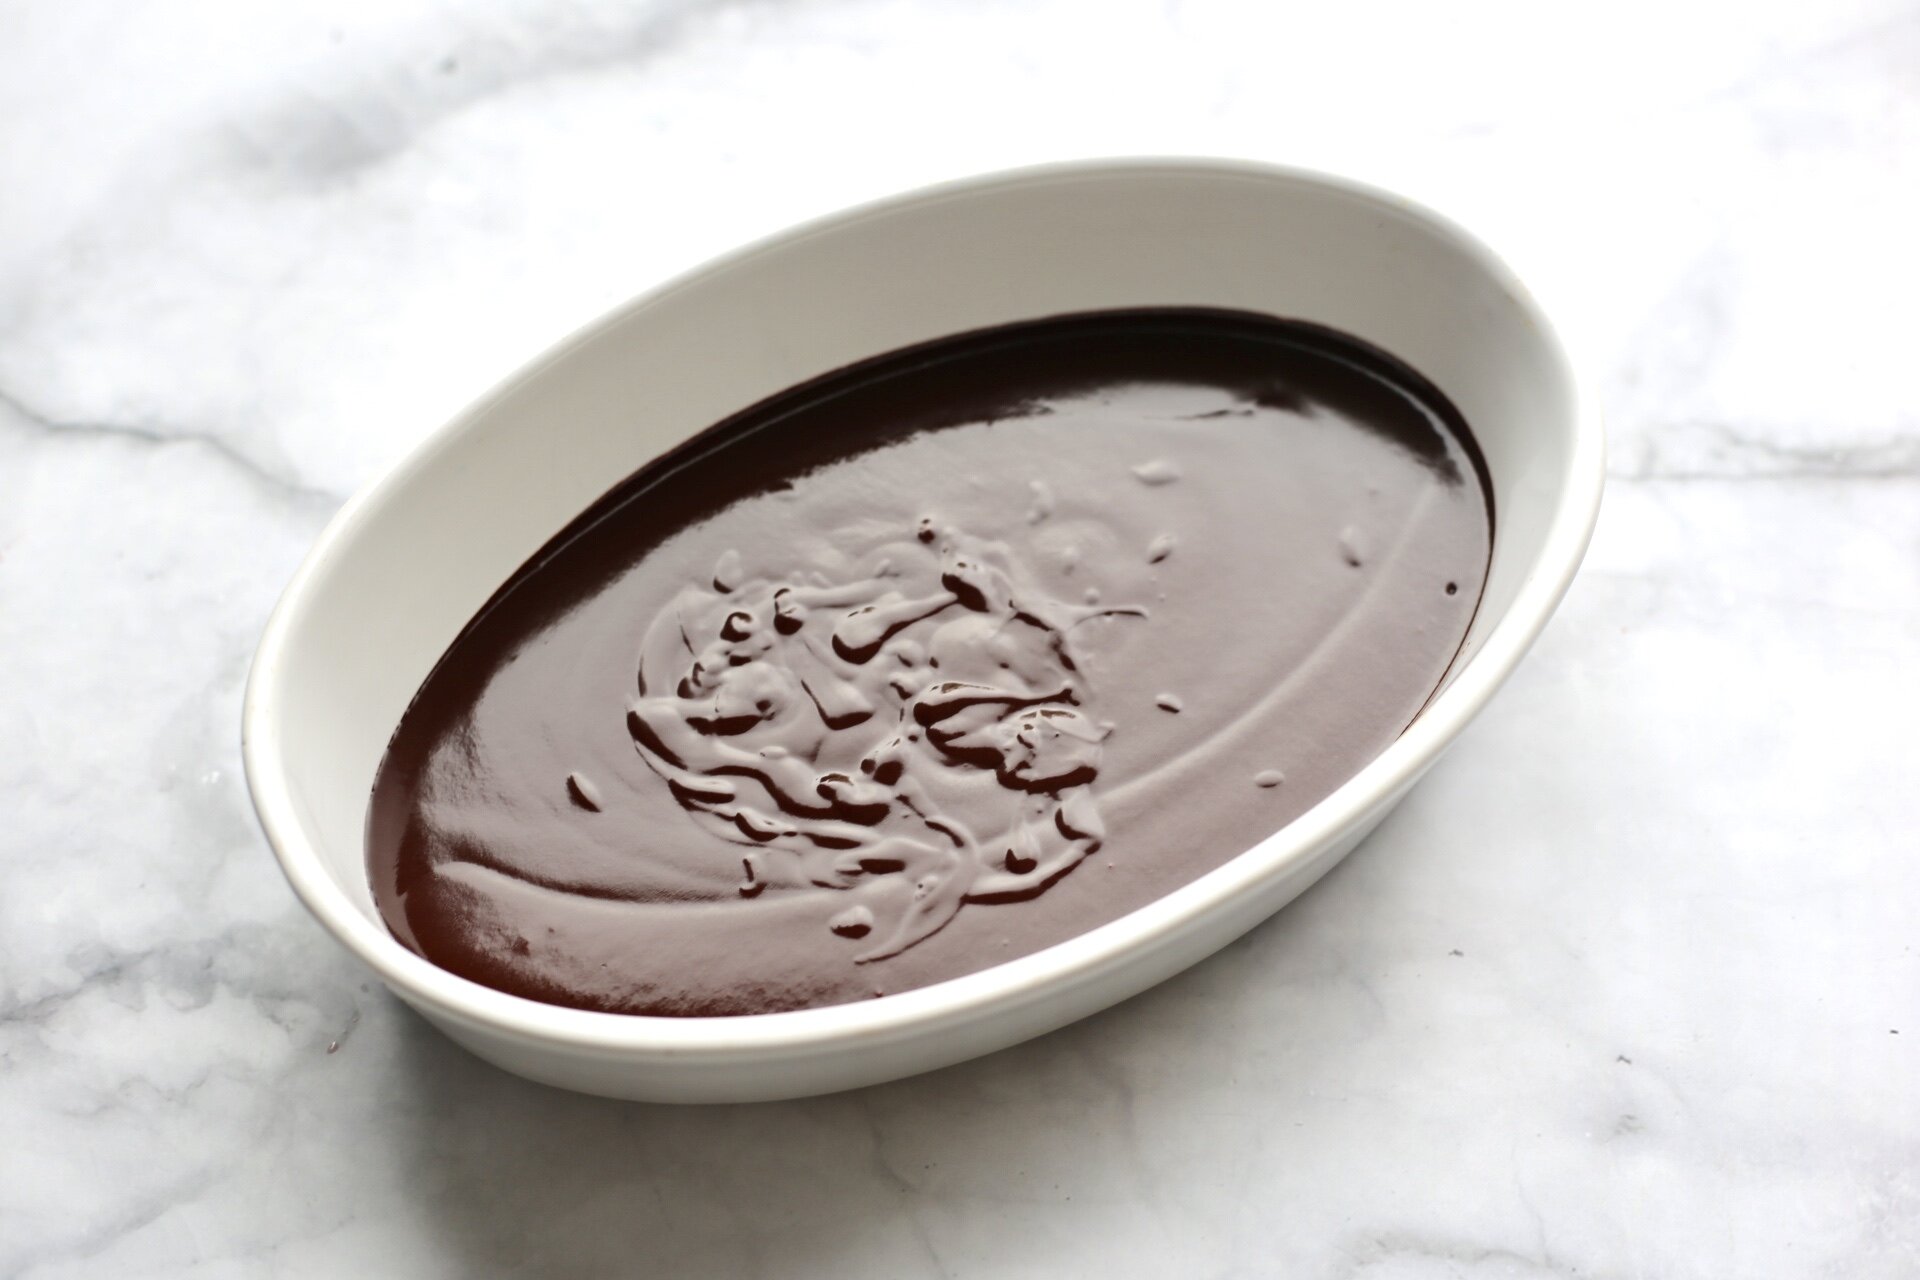
Add the butter to the chocolate and pour the heavy cream evenly on top. Let the warm cream and chocolate sit for 5 minutes minutes. Add the Chambord liqueur then stir until the chocolate has completely melted. If the chocolate isn’t melting, it’s because your cream wasn’t hot enough but no worries. Place the heat-proof bowl over a pot of 1 inch of simmering water and that should do the trick. Once everything is melted and glossy, place a piece of plastic wrap directly on the surface (to avoid condensation) and refrigerate for 1-2 hours. You can also pour the chocolate into a flat shallow dish, such as a 8×8 inch baking pan, so the mixture evenly and quickly sets.
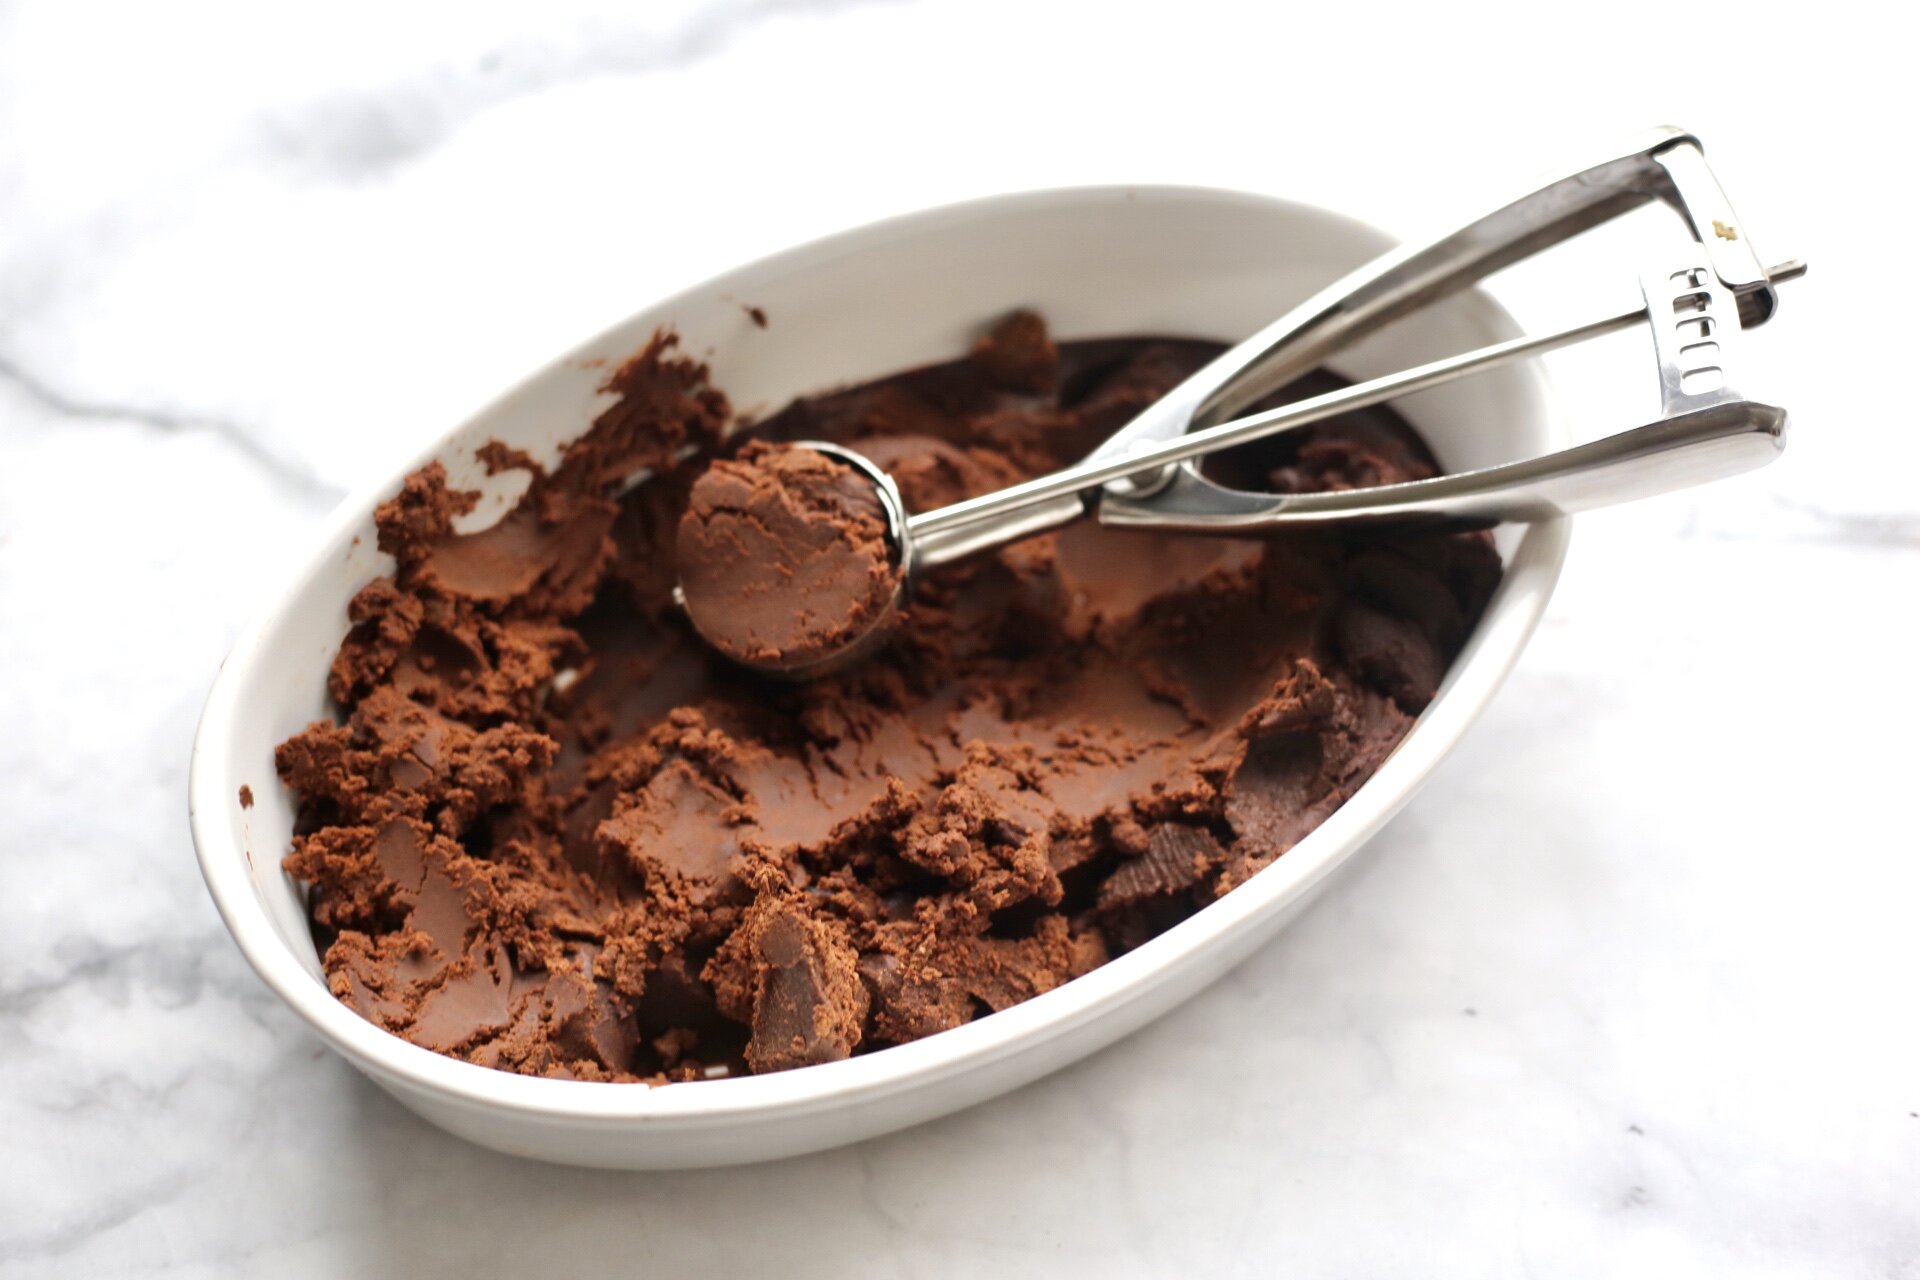
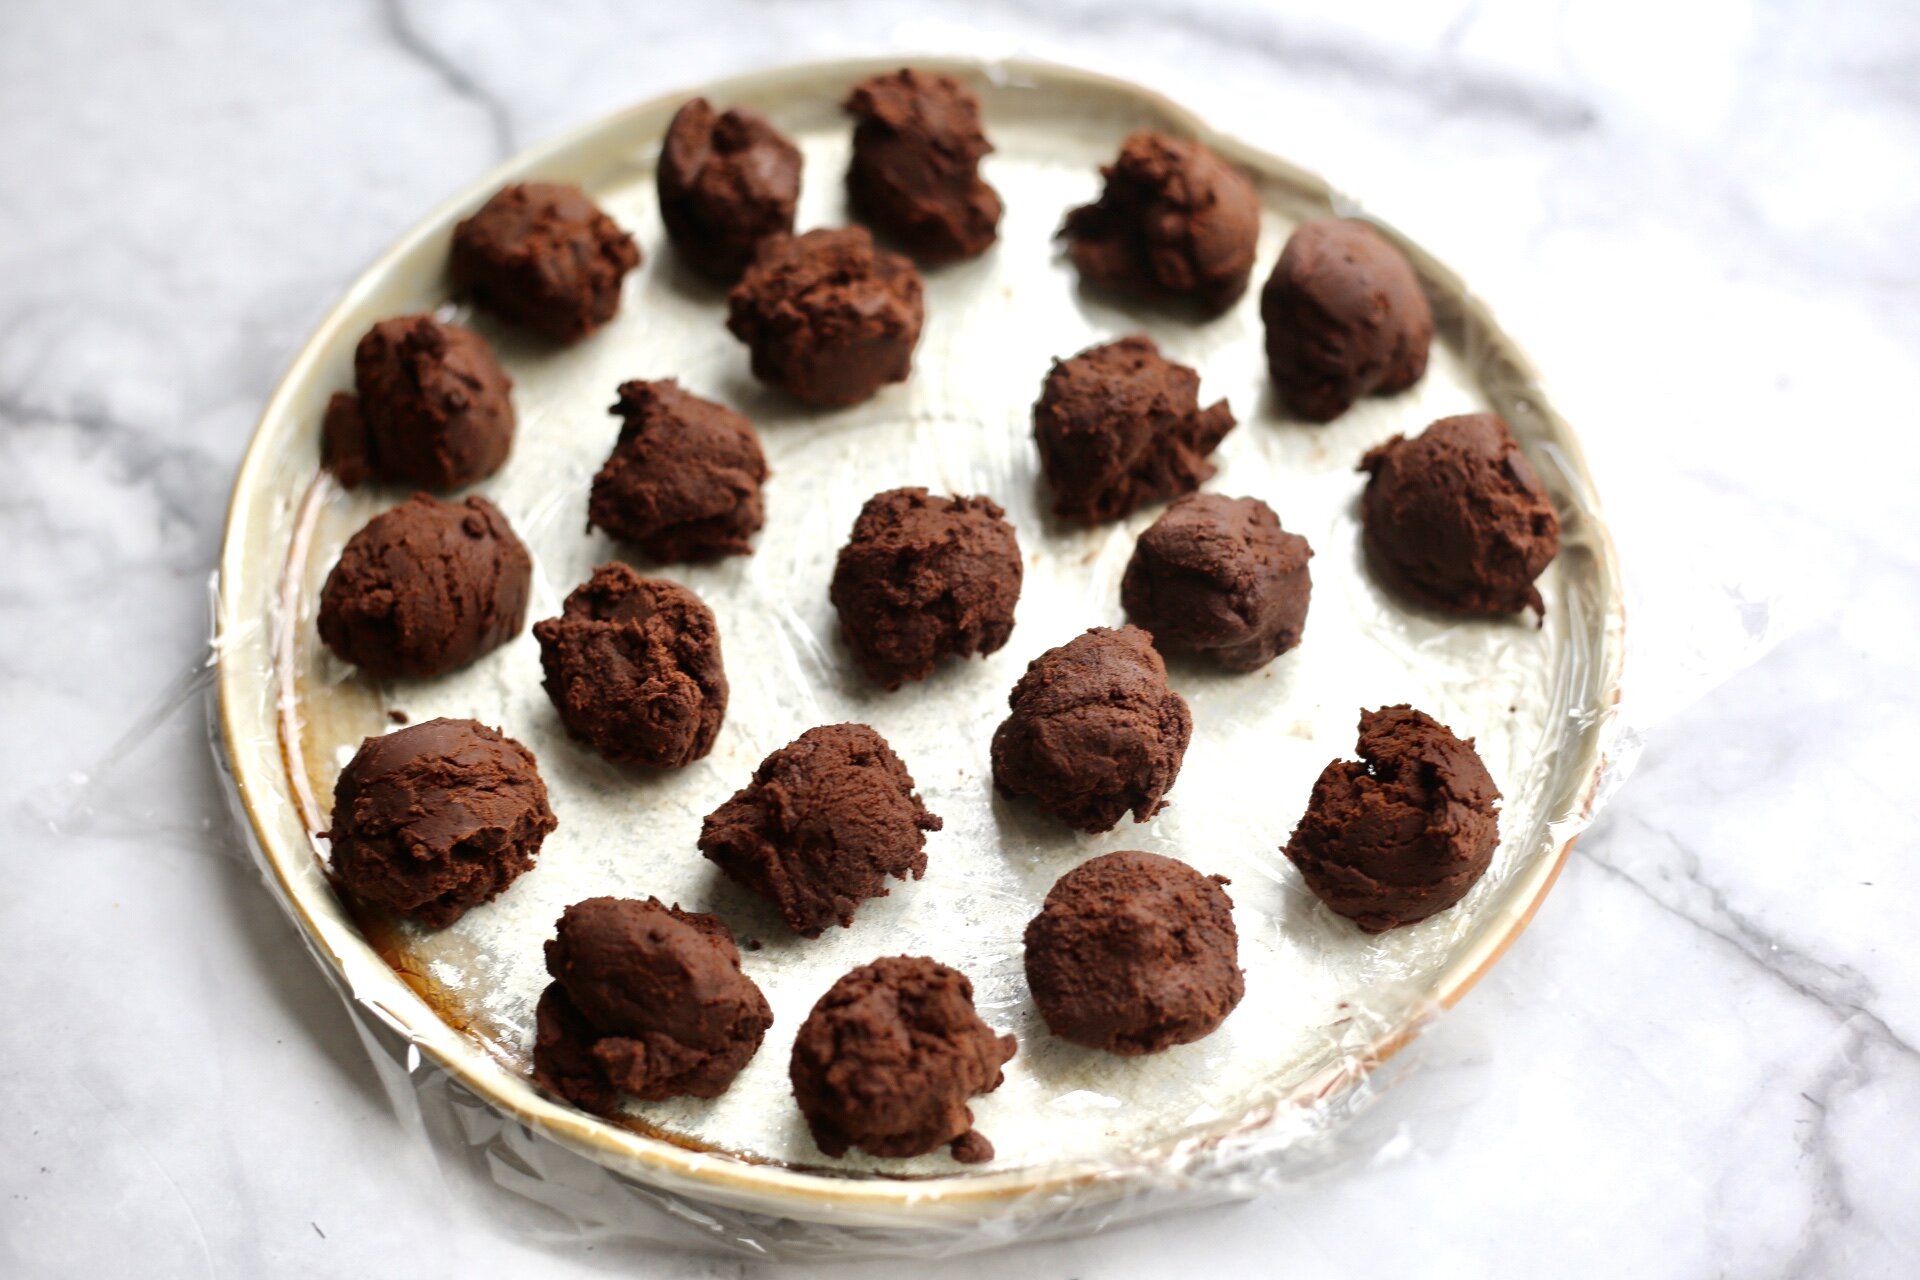
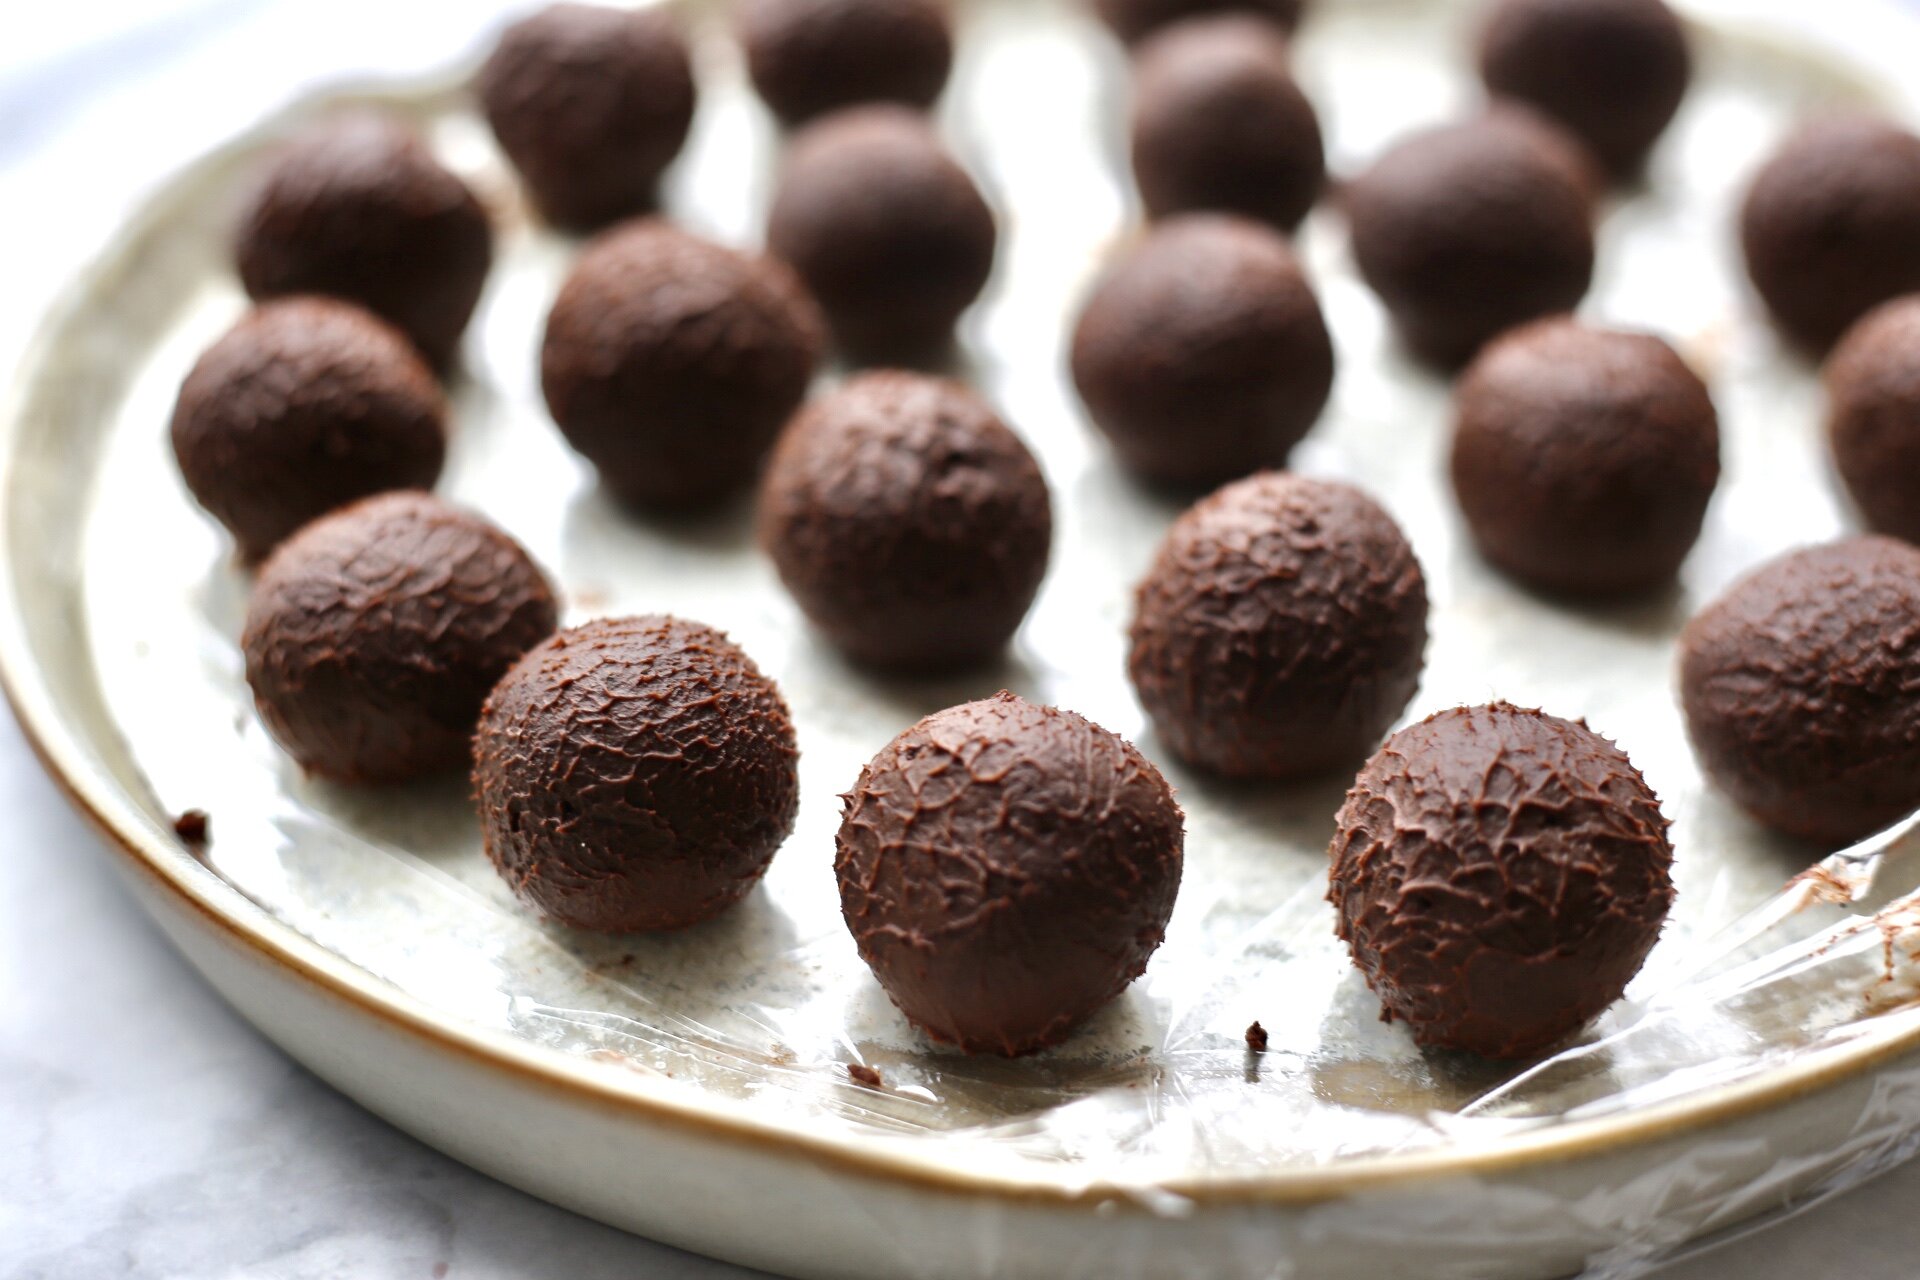
Scoop the set truffle mixture into 2 teaspoon-sized mounds. I used a melon baller sized cookie scoop for even truffles. Let the mounds sit in the refrigerator for 20-30 minutes so they dry out a bit. This will make the rolling process much easier and less sticky.
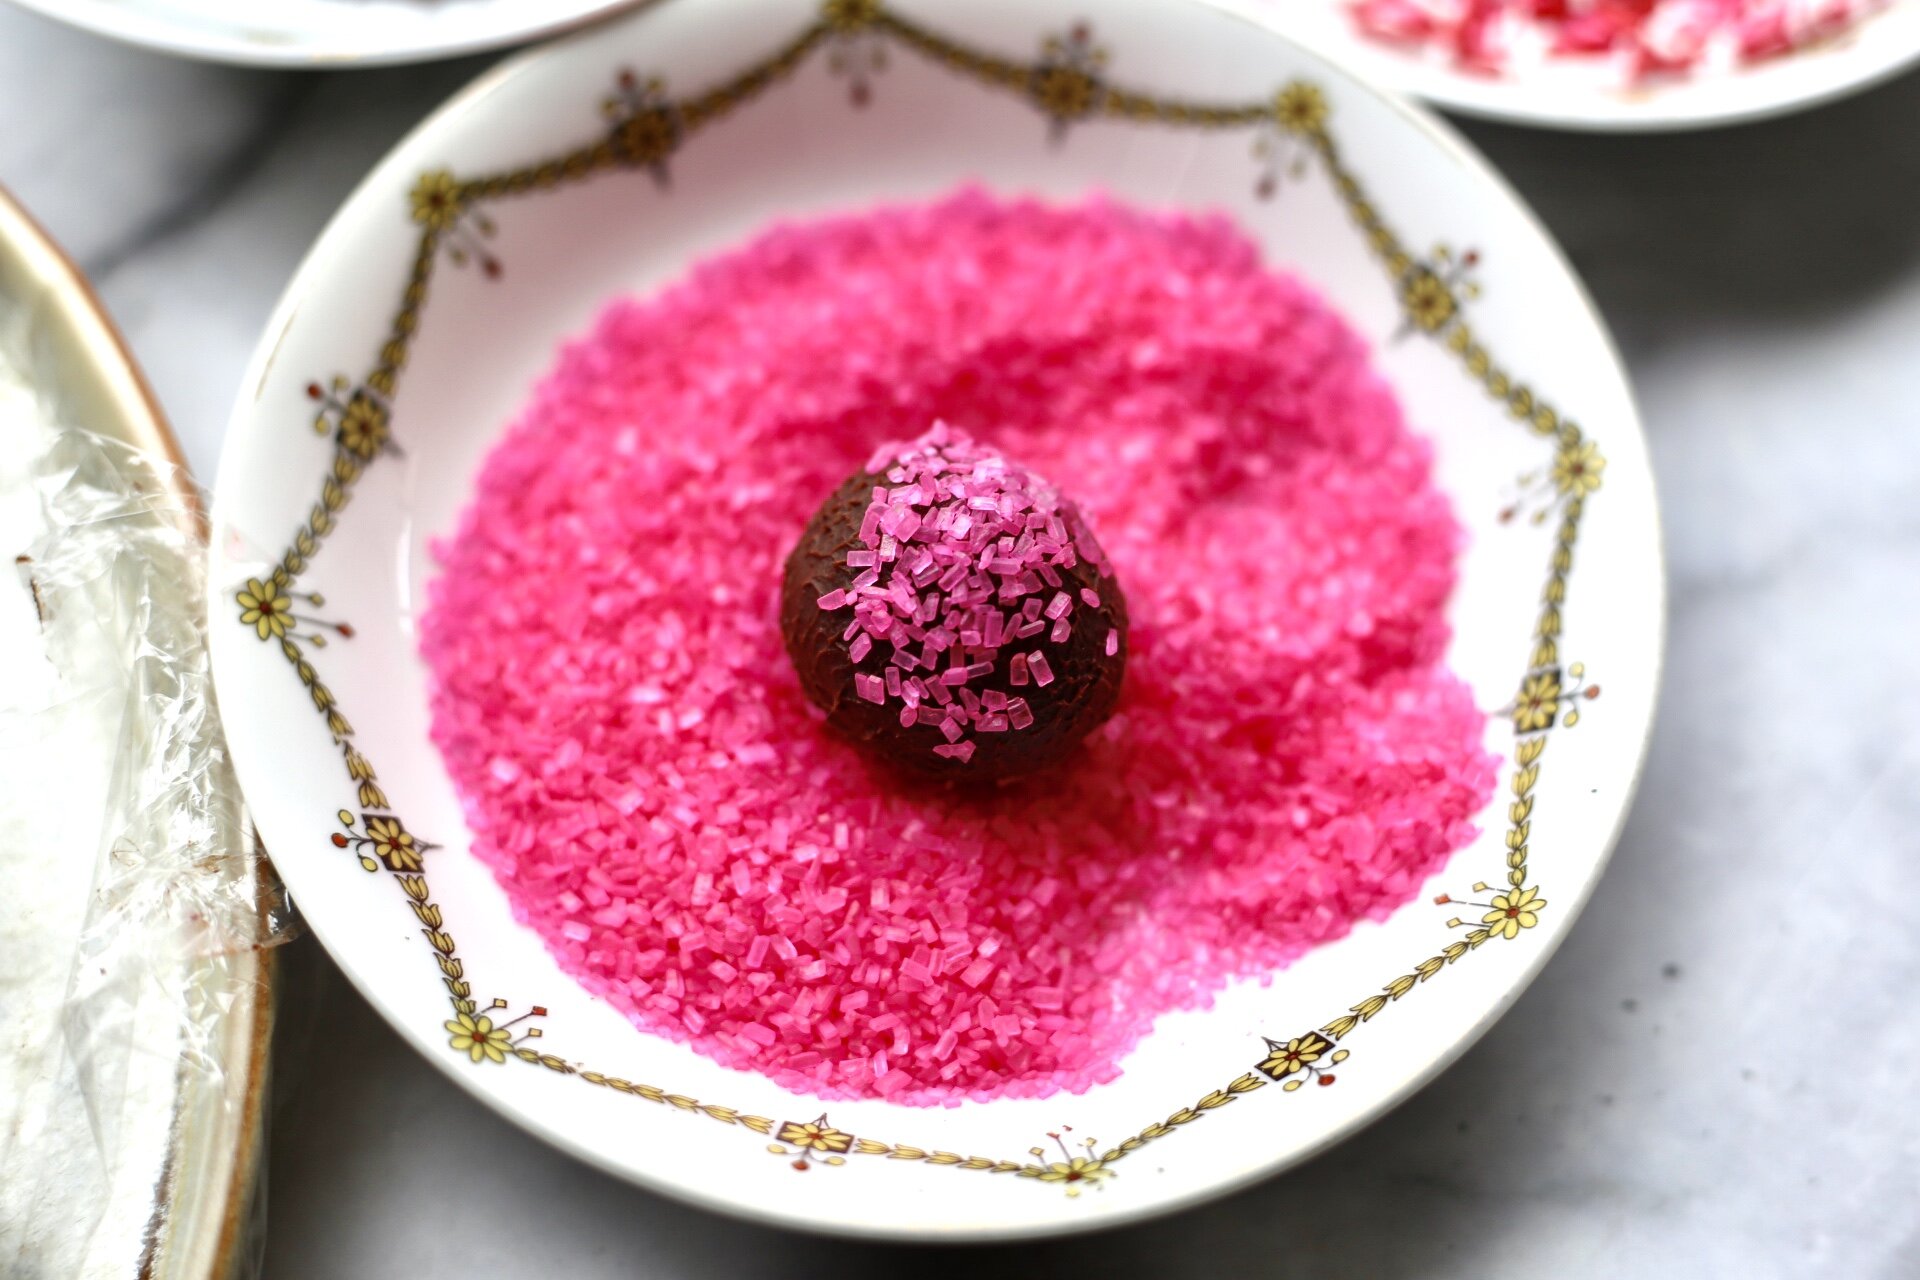
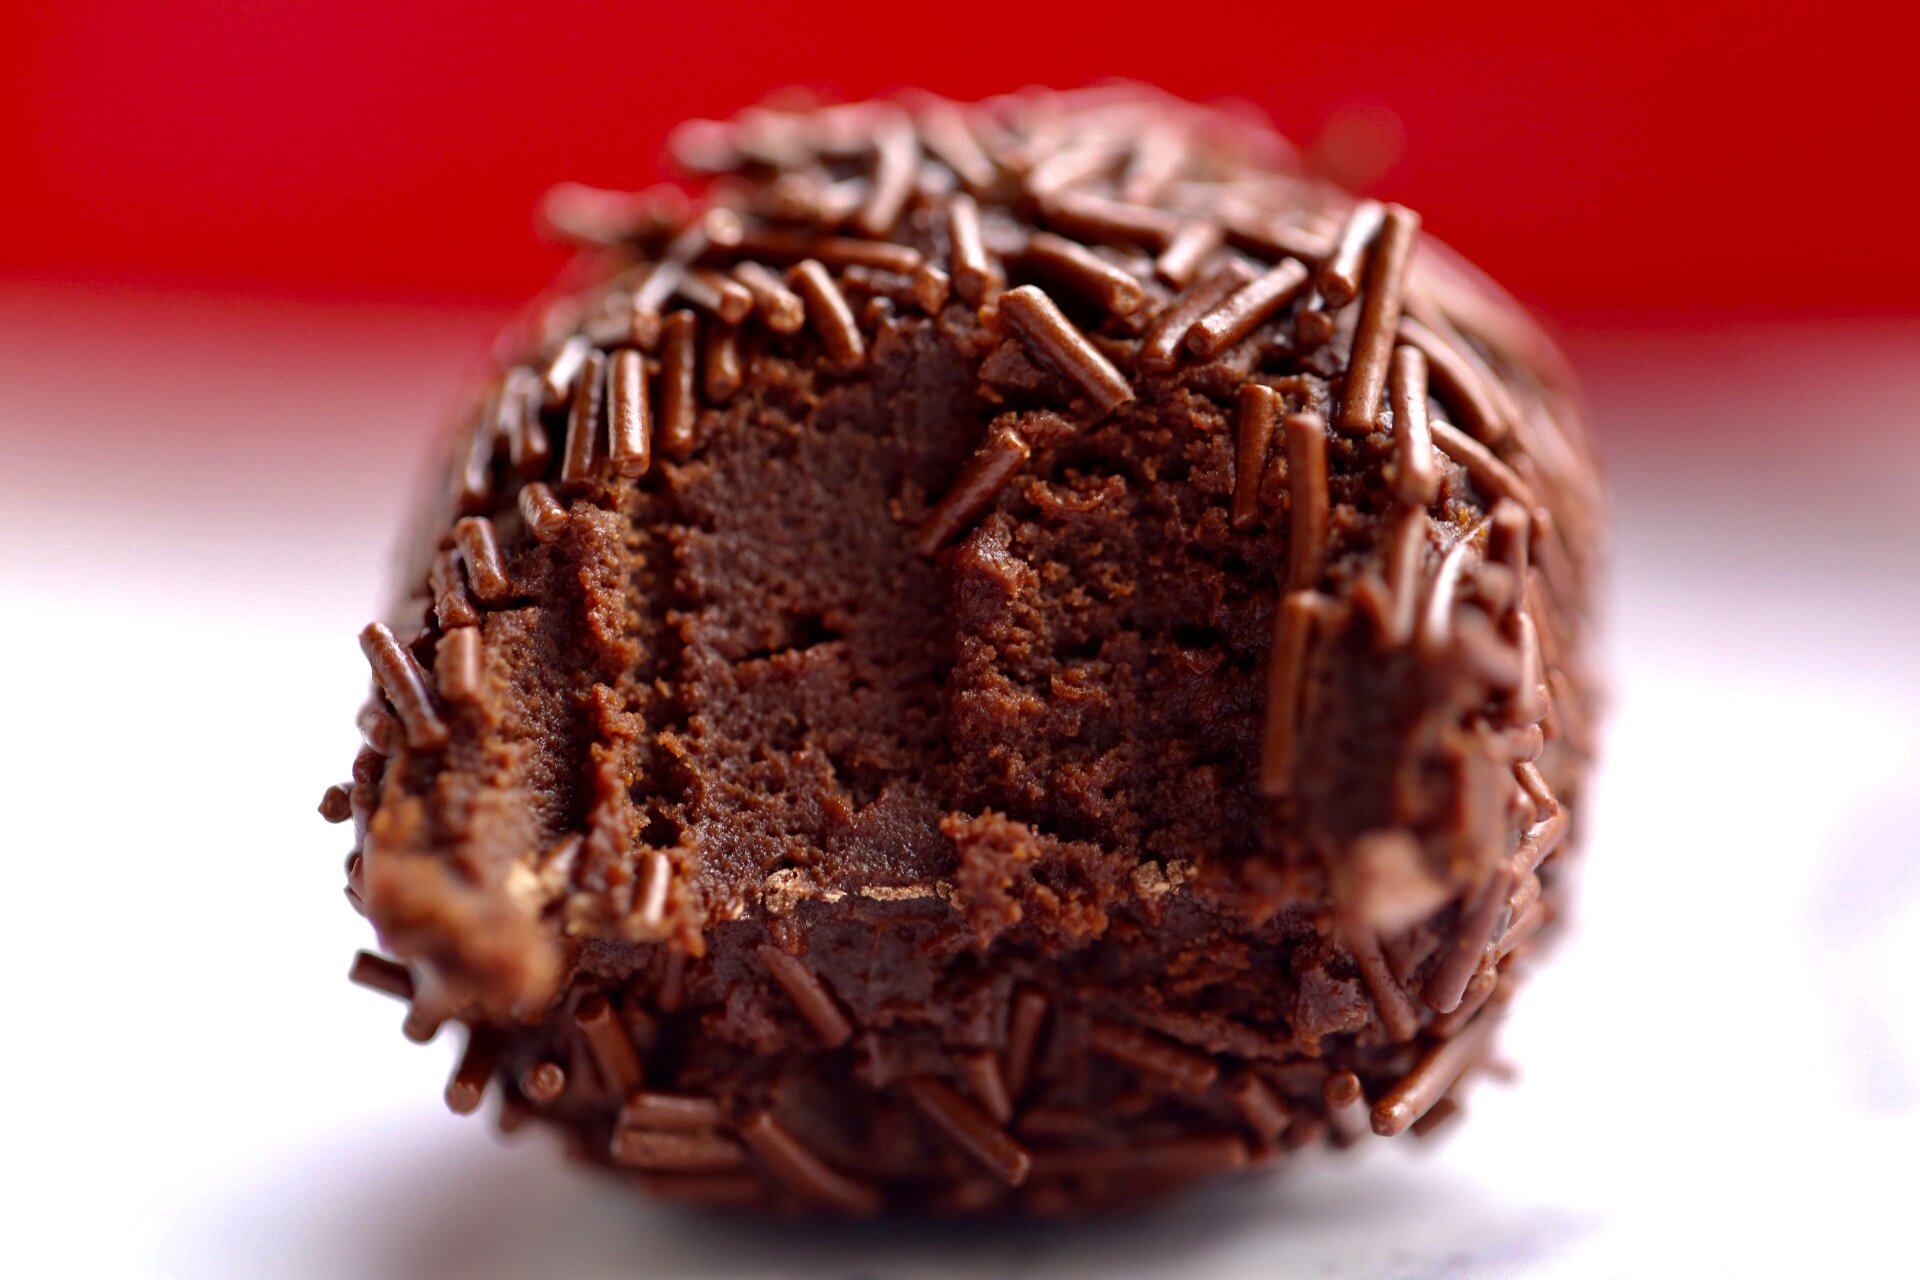
Roll each mound into a perfect circle and coat with sprinkles or toppings of your choice.
Cover tightly and store truffles at room temperature for 3-4 days or in the refrigerator for up to 2 weeks.
*Important tIPS for success
Chocolate: The higher quality chocolate you purchase, the better your truffles will taste. I used Guittard extra dark chocolate (available at Whole Foods) but Ghirardelli is another widely-available brand. If you want to splurge try, Callebaut or Valrhona. You can choose the level of intensity and cocoa content but be sure to use baking chocolate and not the kind of chocolate chips you would use to make cookies. If using milk chocolate, reduce the cream to 1/2 cup as milk chocolate is much softer than dark chocolate. Unfortunately, this recipe will not work for white chocolate.
Heavy Cream: Heavy cream or heavy whipping cream is the only liquid that will melt the chocolate into the proper truffle consistency. Do not use half-and-half or milk. You can also make this with full-fat coconut milk (shake it up and use in the recipe as you would the cream) but I haven’t tested the results.
Chambord : If you don’t have Chambord, feel free to use other liqueurs like Frangelico or Amaretto. If you don’t want to use liquor, try 1/2 teaspoon vanilla extract ( raspberry, coconut, orange, peppermint, or strawberry extract also works well).
Refrigeration & Rolling: It’s important to let the chocolate set in the refrigerator so it hardens enough for scooping and rolling.
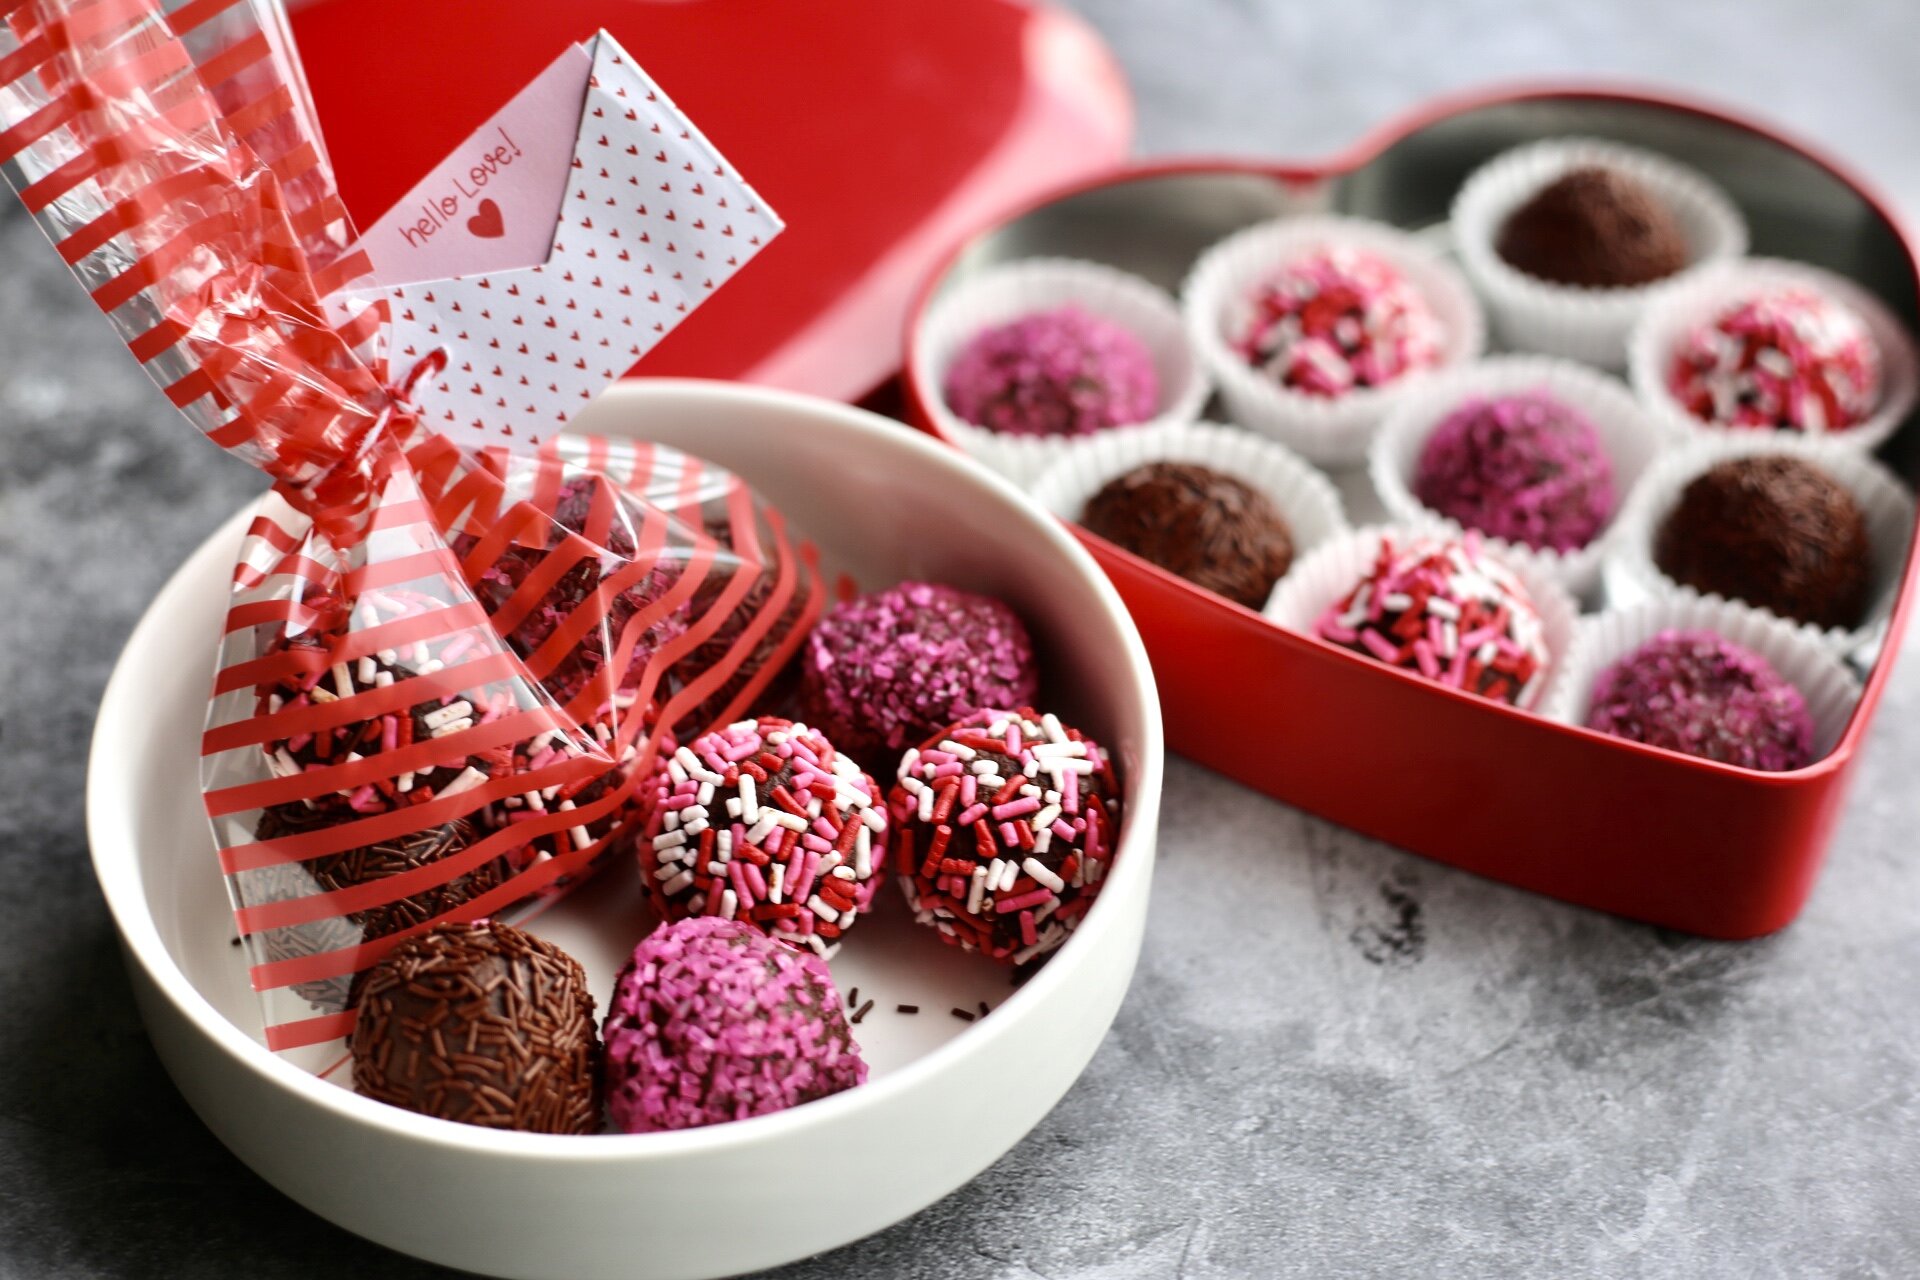
Recipe Notes:
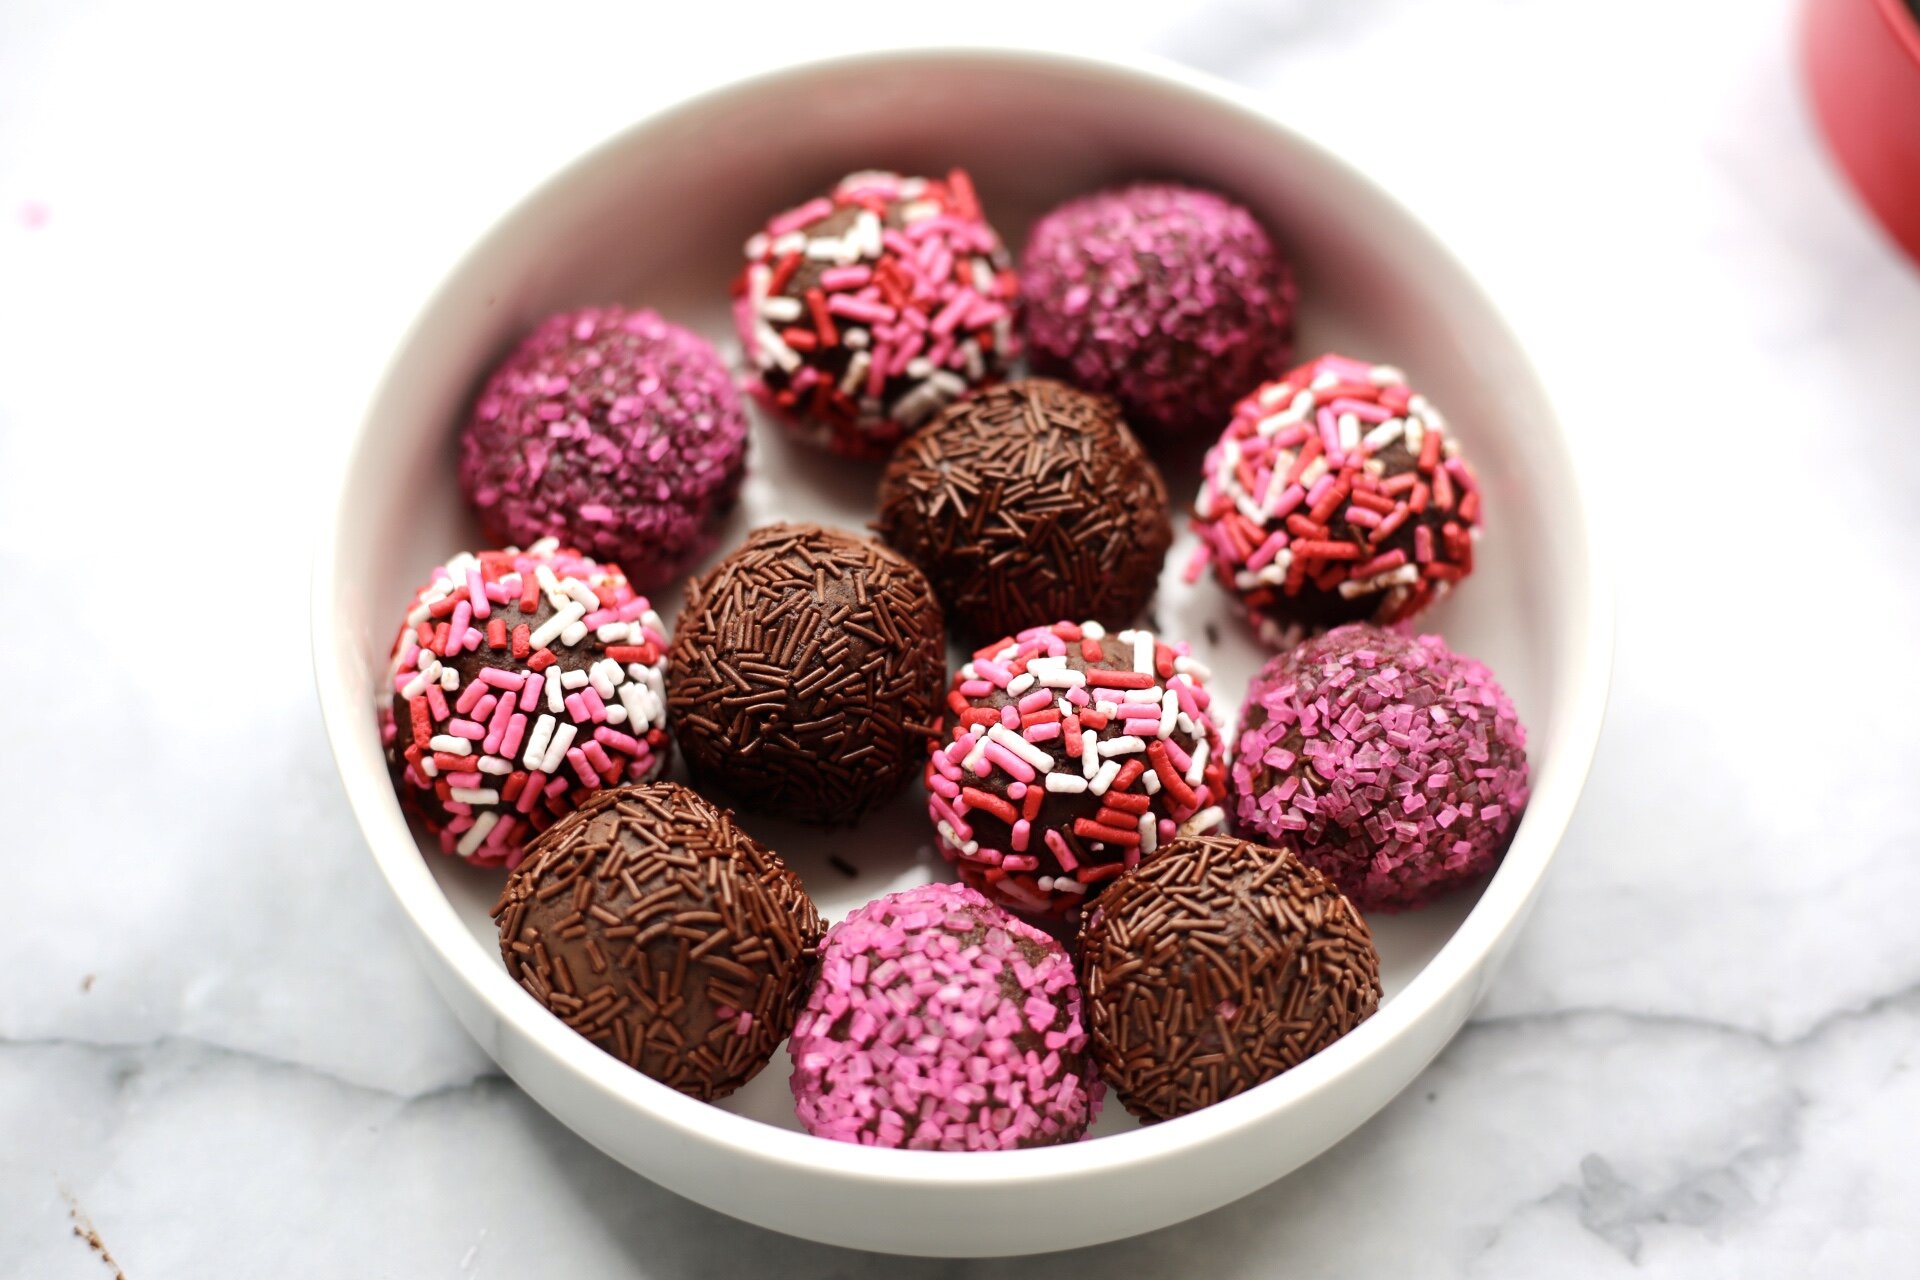
Making your own chocolates may sound like a daunting and impossible task but it couldn’t be easier: just heat some cream and add it to good quality chocolate — no baking required! A pat of butter makes the ganache extra creamy and choose whatever extracts and liqueurs that fit your fancy but for this recipe I used Chambord raspberry liqueur. You can also get creative with different colored sprinkles to match any theme or holiday you might be celebrating but these DIY truffles make the perfect gift from the heart for Valentine’s or Galentine’s Day. I found cute heart-themed tins and bags at my local Target and I can’t wait to hand out my homemade creations to my loved ones. Pair them with a French Martini for a double dose of raspberry deliciousness.